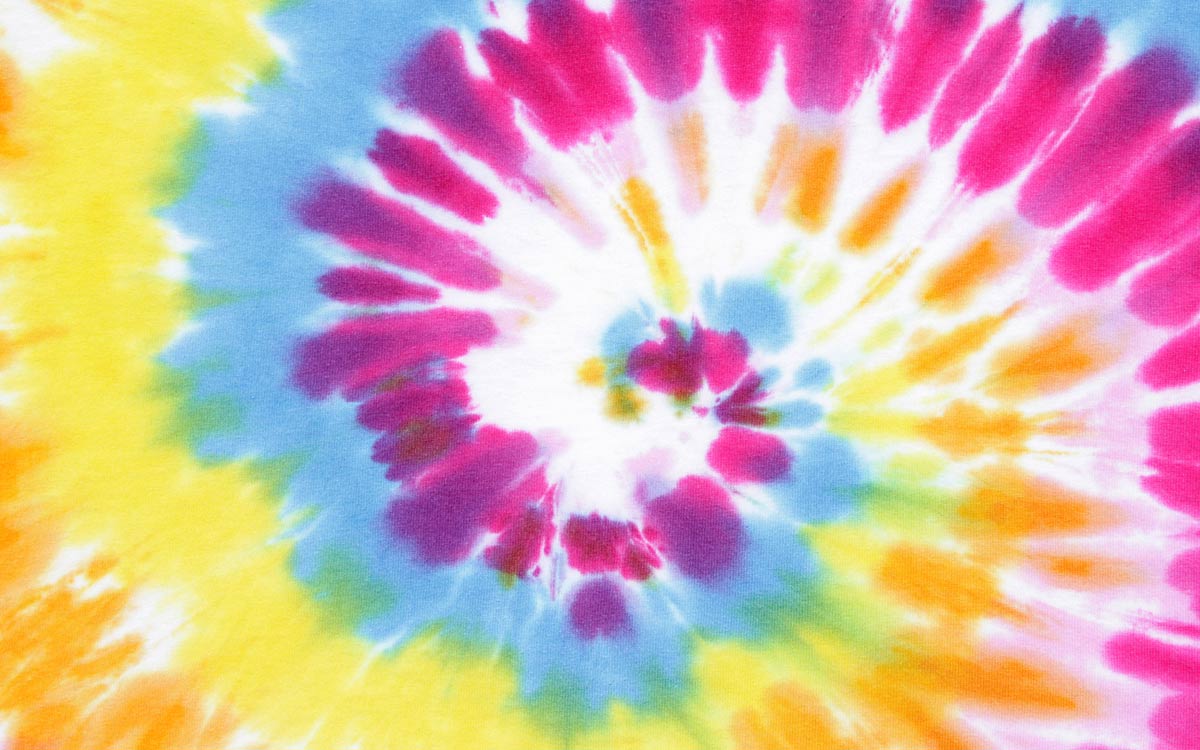
Are you looking for a fun summer activity to keep the whole family busy without breaking the bank? Look no further! One of our Flippers, Shelby Sher, has mastered the perfect tie dye swirl and she’s ready to share her best tips and tricks to accomplishing tie dye perfection!
Follow these steps for an unbeatable afternoon of colorful fun.
What You’ll Need:
- White T-shirt*
- Tie Dye Kit** (I used a Tulip kit, which can be found at Michael’s)
- Rubber bands
- Latex or plastic gloves
- A garbage bag
- Water
- Optional: Plastic bag
*If you are buying a new T-shirt for this activity, make sure that you wash it in a cold cycle beforehand.
** Some tie dye kits come with rubber bands, gloves, and a garbage bag or plastic surface, so be sure to read what’s included before purchasing the other materials.
Here’s how to make a classic spiral design.
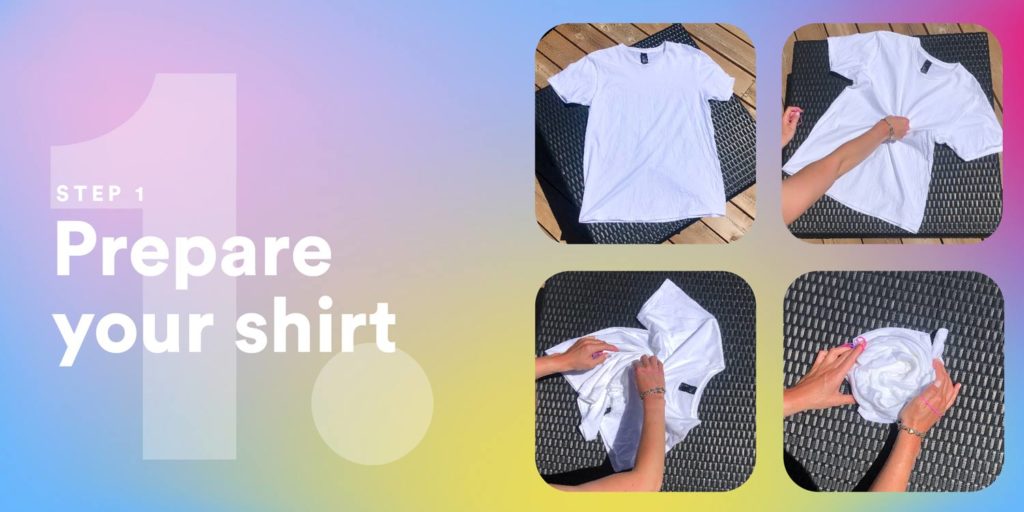
Step 1: Prepare your T-shirt
Lay your T-shirt out on a flat surface. Pinch the area where you want to center your spiral and turn your shirt in a clockwise direction until the entire shirt appears to be in a round shape.

Step 2: Tie your shirt
Wrap your rubber bands around your T-shirt to secure it. We recommend using 4 – 5 to make sure you really get the full effect. Crisscross the bands to create multiple wedge shapes.

Step 3: Set up your dying area
I’m sure it’s no surprise that tie dying can get a little messy. In order to manage this as best as possible, it’s important to set up your workspace. First things first — lay out the garbage bag on the area you will be using to dye. This will help protect your grass, deck, or whatever surface you will be using.
Step 4: Prepare your dye
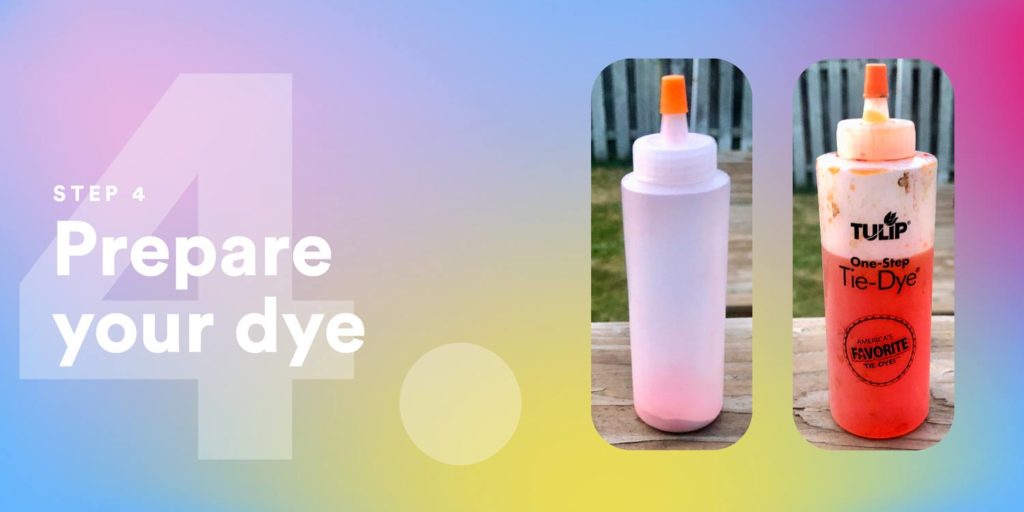
From here on out you will want to make sure that you are wearing your latex/plastic gloves to help protect your hands from being the subject of today’s dye project. Most tie dye kits come with the dye powder already in a squeeze bottle, so all you have to do is add water. But before you do that, locate the line on the squeeze bottle that indicates where to fill up to. Once your colors are prepared, take them to your plastic-covered dye station.
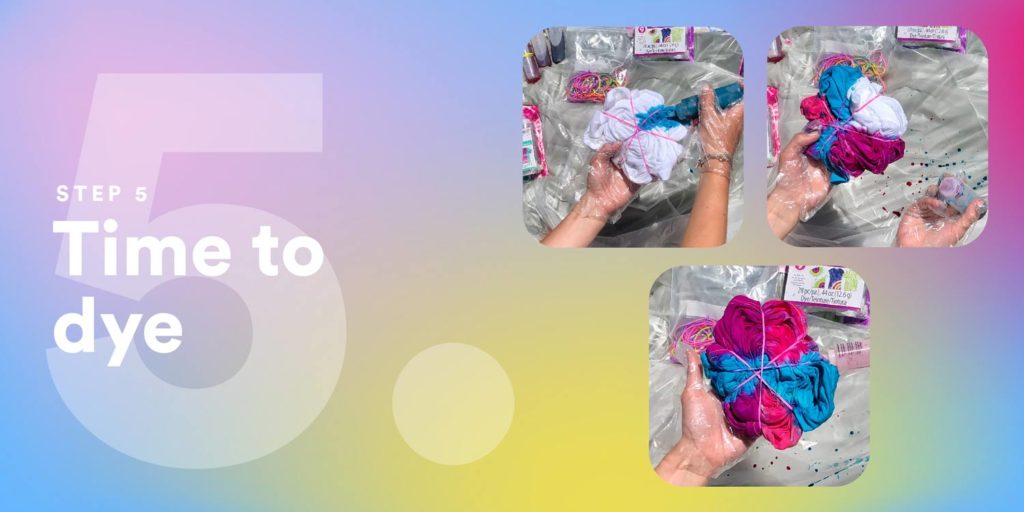
Step 5: Time to dye!
With all the set-up out of the way, it’s finally time to start dying! Pick your favorite colors to make this masterpiece come to life. I usually stick to 2 – 3 colors, but the choice is yours. Hold your shirt as you start to squeeze dye onto the wedge you are focusing on. Make sure that you are dying the front and back of the wedge. You will also want to check all of the cracks and crevices by lightly pushing around the material inside the wedge to locate any white sections. Although the rubber bands are there to separate the sections of your shirt, they are not going to stop the dye from spreading into the next wedge — and that’s okay! Believe it or not, the combination of different colors will leave a very cool effect.
Continue adding dye to all sections of your shirt until it’s completely full of color.

Step 6: The reveal
This is the moment you’ve been waiting for, you get to see what you’ve created. Before you take off the rubber bands, make sure you are still near your dye area so you can protect the rest of your space from the splash of dye that comes with taking off the bands. Remove the bands one by one to unravel your new and beautiful tie dye shirt!

Step 7: The aftermath
Hang your T-shirt to dry for a day or two. Leaving it outside is your best bet to avoid any dye dripping inside your home. Once your T-shirt is completely dry, run it under cold water and squeeze out any excess dye. You will want to continue squeezing out your T-shirt until there is no dye coming out. Next, throw your T-shirt in the washing machine with nothing else in there and wash on a cold cycle. Dry however you’d like. You will notice that the color fades, but this is normal.
Tie Dye Tips and Tricks
Here are a few tips and tricks that our Flipper Shelby learned along the way:
Tip 1: How to make your dye last longer
If you are running out of dye, here’s a quick way to revive the project: add water to what is left to make the most out of every last drop. This will likely dilute the color a bit, but it will still work! You can do this 2 – 3 times before you retire a color.
Tip 2: How to remove dye from your skin
As much as you try and avoid it, you will likely end up having dye all over you. If you catch it early enough, you should be able to get it off with water and soap. If it has dried, things get a bit tougher. Create a combination of one tablespoon of baking soda and a splash of water. Paste this onto the parts of your skin that have been dyed and scrub. The baking soda should help lift the dye. This will dry out your skin a bit, so be sure to moisturize after.
Tip 3: How to get deeper colors
If you want your shirt to have a deeper color, you may want to revise Step 6 listed above. Instead of revealing your tie dye right away, put it in a plastic bag tied tight and let it sit overnight. The next day, run it under cold water and remove the bands while you continue on with Step 7. This allows the dye to set in for longer, which makes for deeper colors.
And there you have it — a step-by-step guide on how to tie dye the perfect spiral, along with some tips and tricks. Ready to try it for yourself? Don’t forget to show us your tie dye creations by tagging us on Facebook and Instagram.


