Remember back in the day when stores had a rack of paper ads by the entrance to promote all of their deals for the week? Or perhaps you’ve gotten a stack of these paper ads in the mail. Whatever your experience, it’s no secret that times have changed.
Simply put, Flipp is the digital version of these paper ads PLUS additional features that make deal hunting a breeze. Flipp saves you money by helping you find the latest deals at local stores. If you’re a pre-planner, Flipp prepares you by showing you what to buy and where to buy it for the best value.
If you already have Flipp, awesome, but you might not know about all our features, so stick around, you might learn a thing or two to help you save even more!
Did you know? We have a Help Center to answer any and all Flipp questions! If you are looking for Flipp technical support, you can contact us here.
Step 1: Download the free Flipp app straight to your smartphone
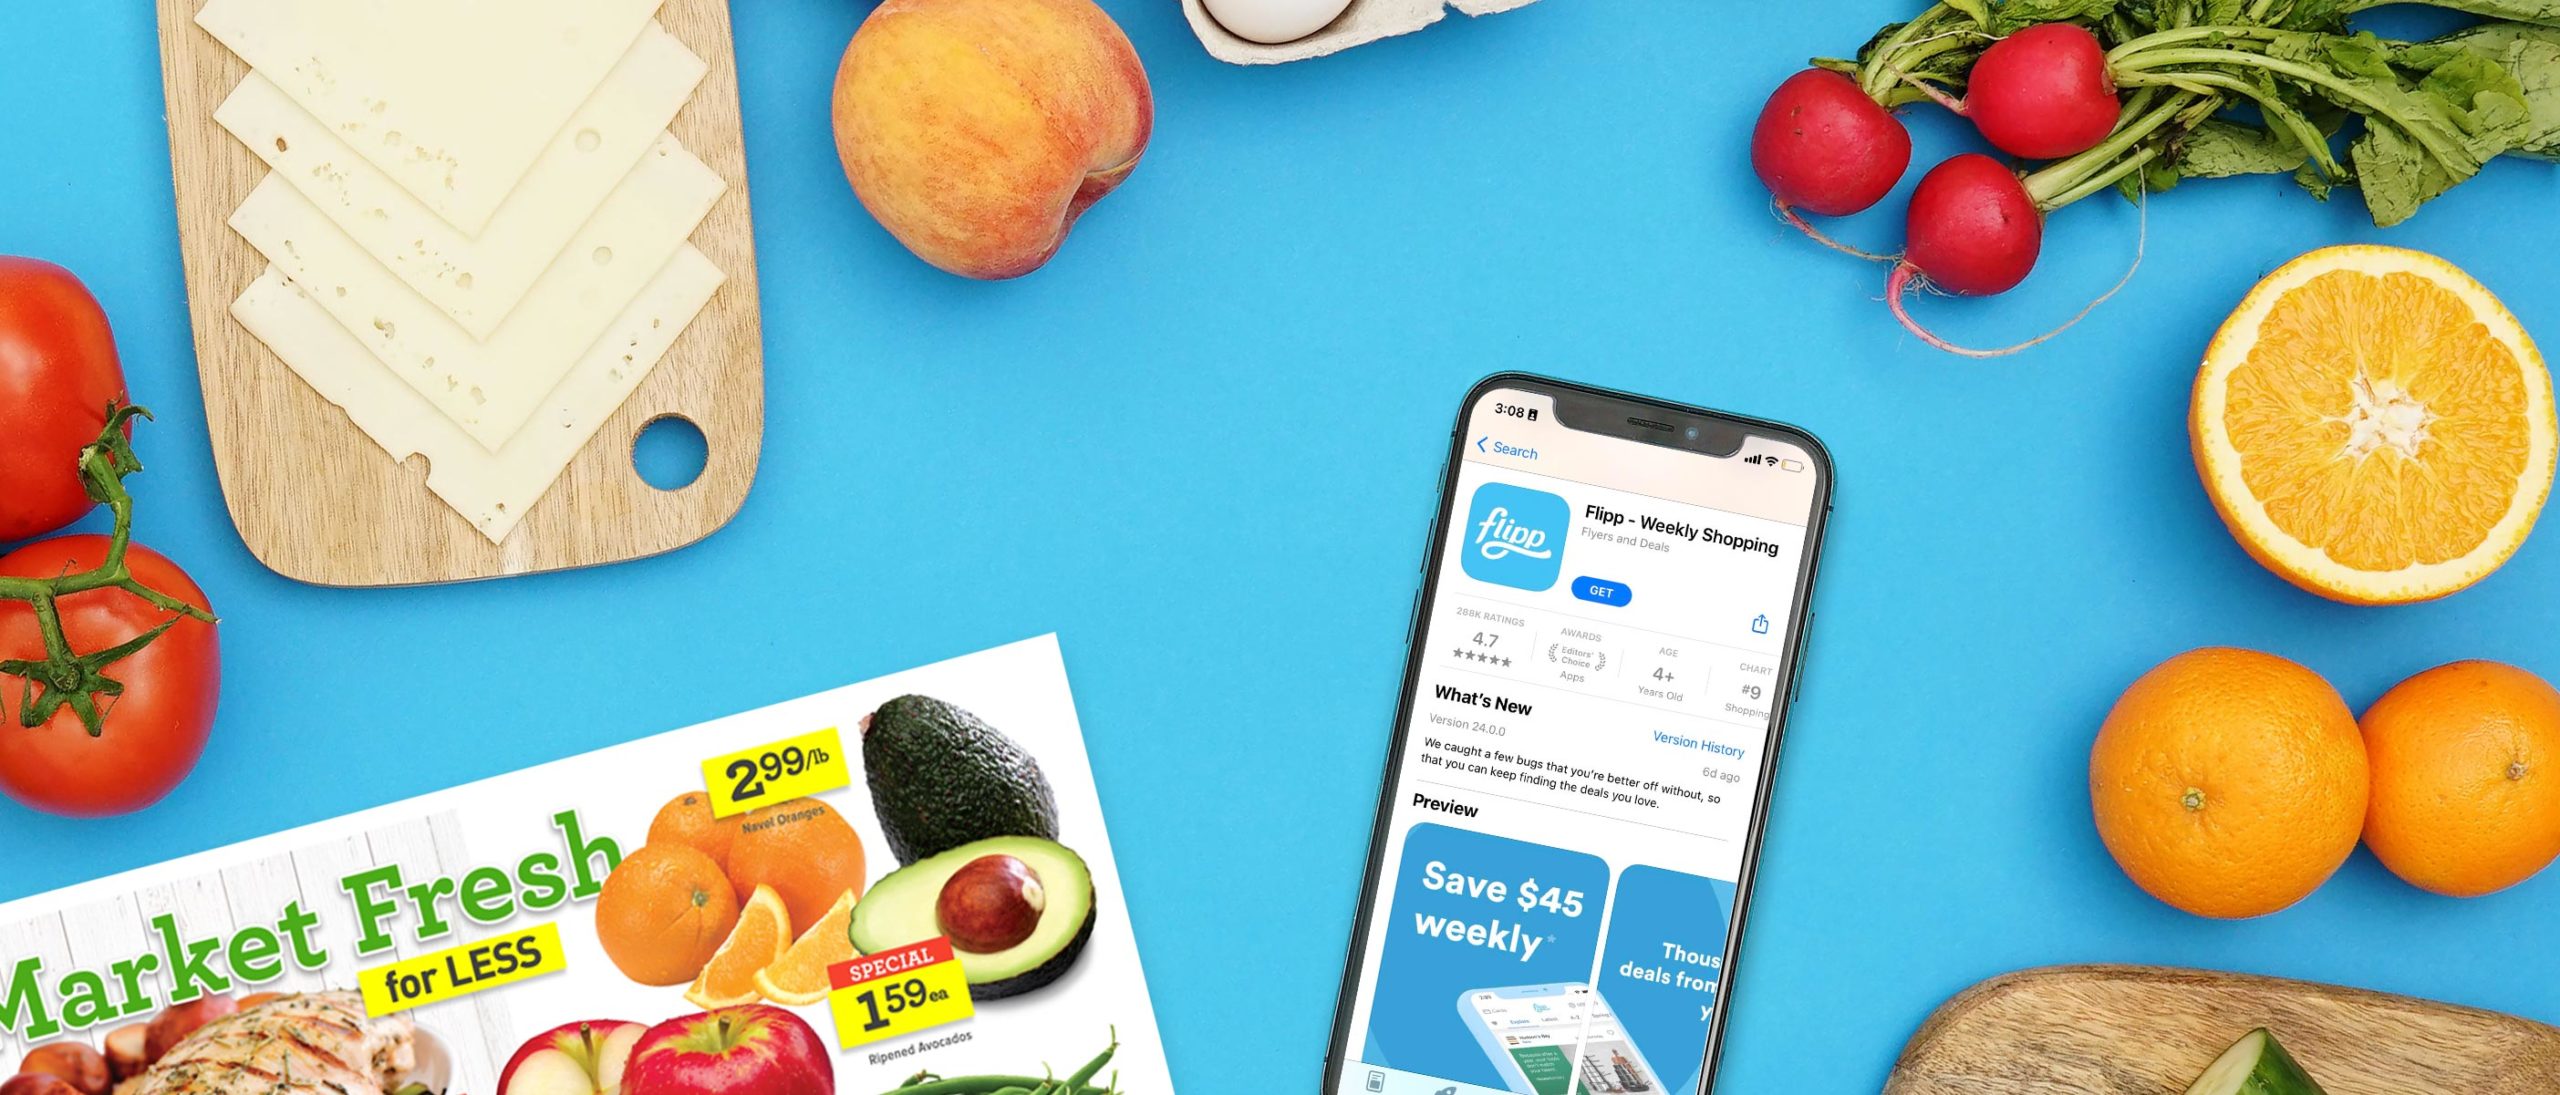
Flipp is a free app available for iPhone and Android devices that helps you find deals on essentials like groceries, pharmacy, home supplies, and more. To download Flipp, simply open the App Store (iPhone) or the Google Play Store (Android) and search for “Flipp”. You can also click the button below which will take you to the Play Store or App Store.
If you prefer to use Flipp on your desktop computer, visit Flipp.com to start finding the latest deals.
Step 2: Enter your location and select your favorite stores
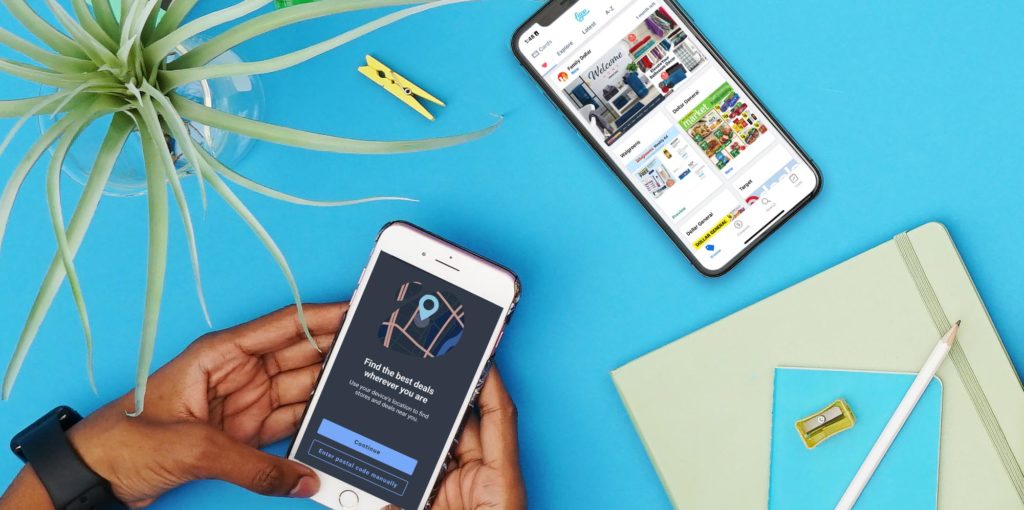
The first time you open the app, Flipp will guide you through setting up your account. First, allow Flipp to track your location. This step is very important for Flipp to find you stores near you, up-to-date deals, and accurate pricing information.
You also have the option of manually entering your zip/postal code, but keep in mind that you will have to manually keep updating this in the settings if you are moving around and want to see deals near you. By allowing location access instead, Flipp will automatically update the deals and stores it’s showing you, so you’re always getting accurate information.
Then, select your favorite stores. This will make it easier to find deals and savings from the stores you shop at.
Step 3. Explore the latest deals with digital ads
Once you are done with the setup, you will see weekly ads from the stores you have selected as your favorites. Tap to open the ad and scroll to explore the deals. You can even pinch with two fingers to zoom in and get a clear view of the products and deals.
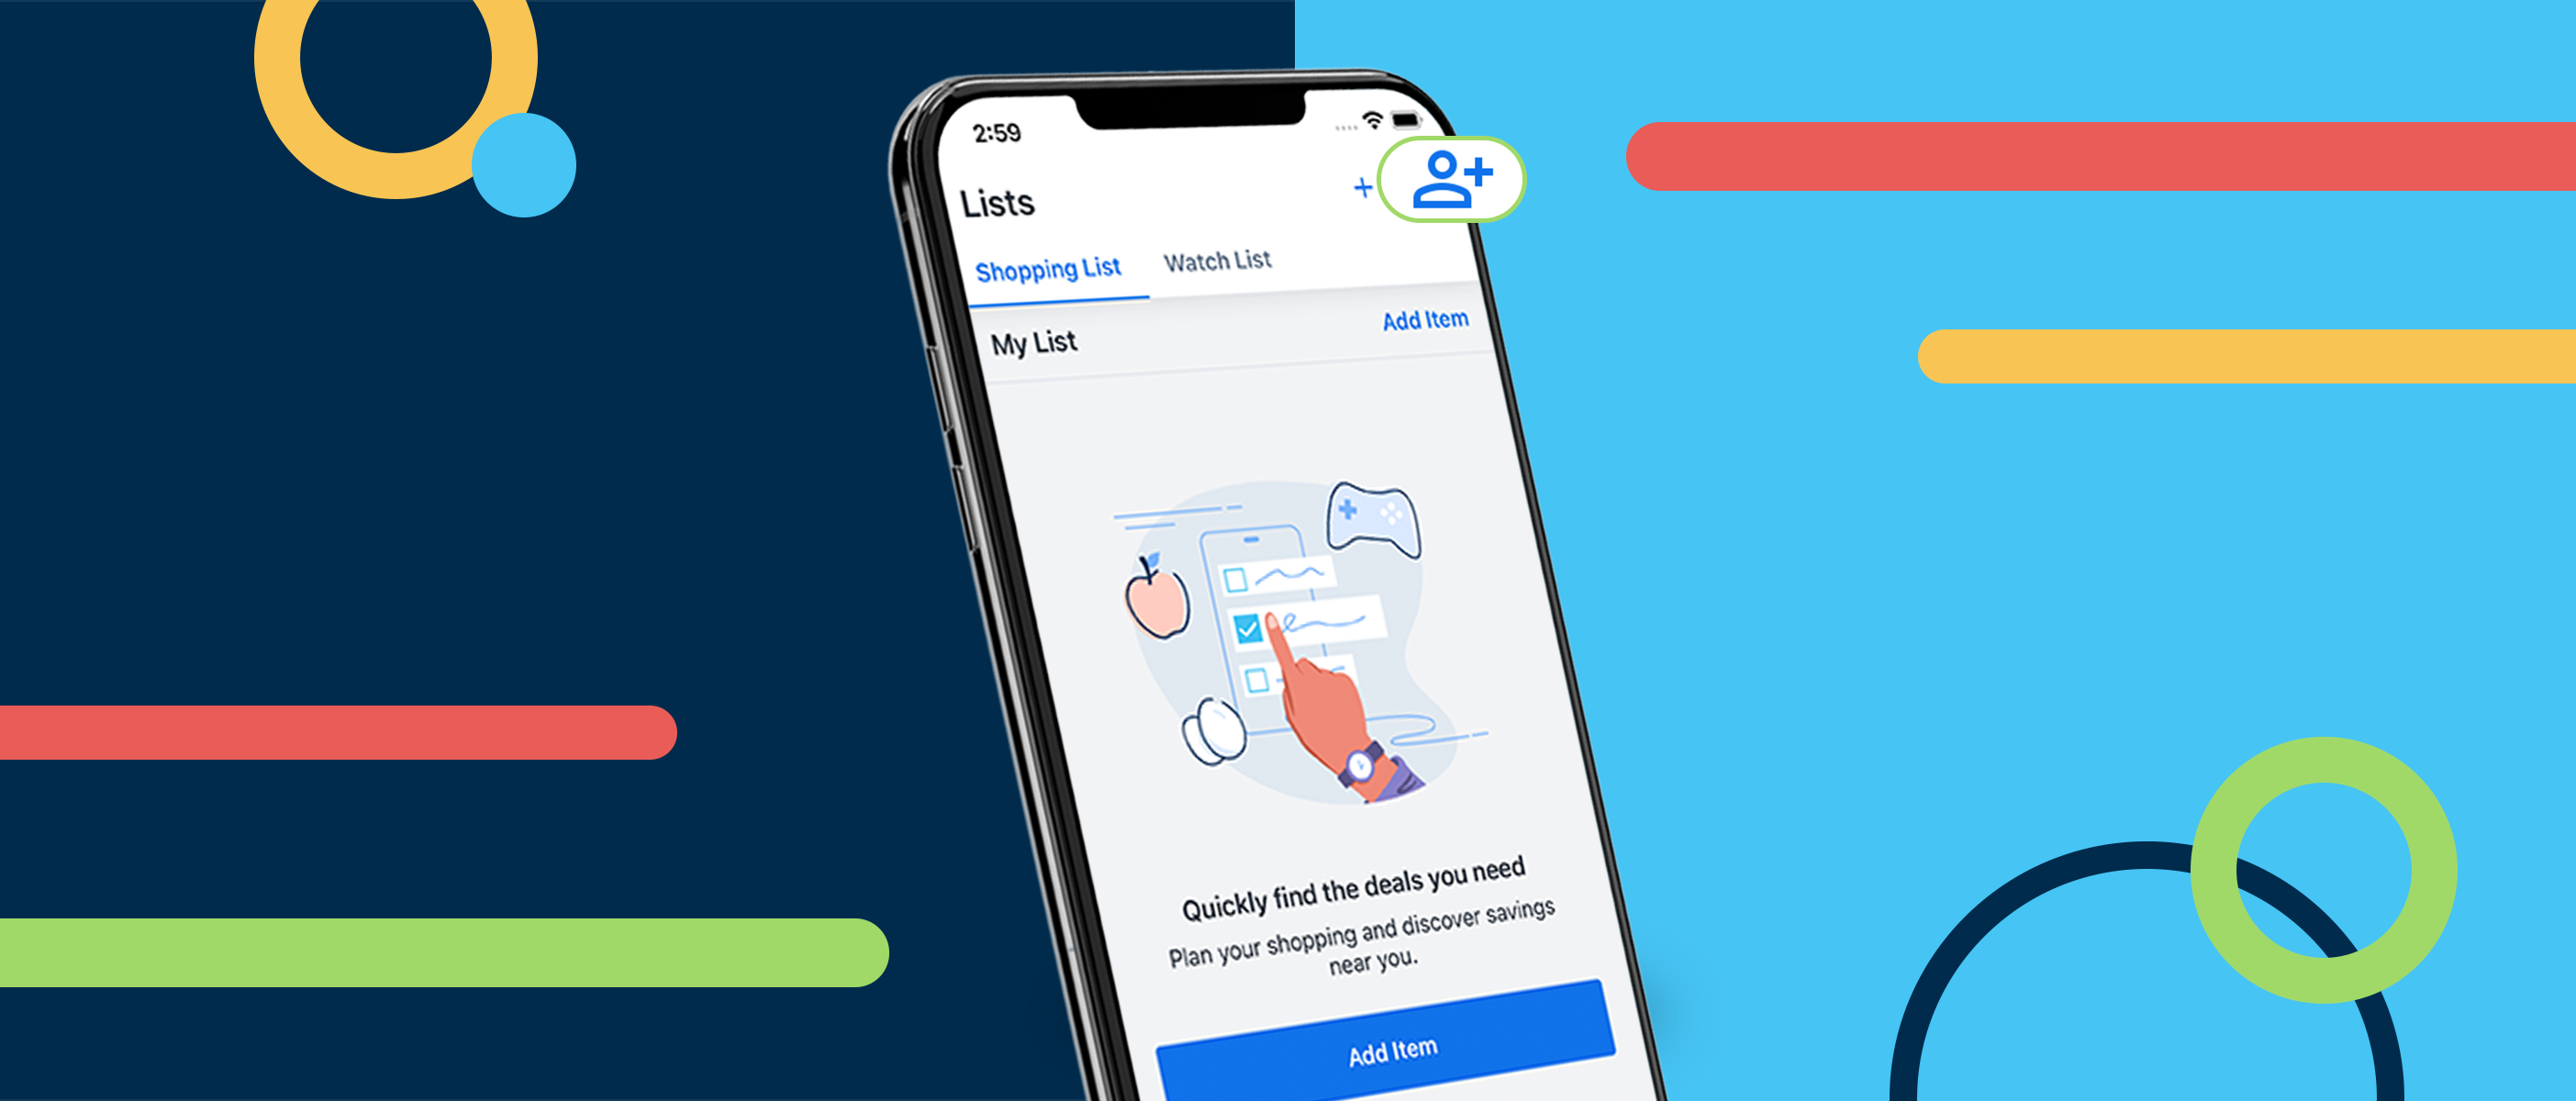
If you see a deal you like, tap to circle it, or as we like to call it, “Clip” the deal. To see all of your clippings, tap the “Lists” tab at the bottom of the screen and then select “Shopping List.”
Step 4: Search, compare prices, and find the best deals
Looking for something in particular? You can quickly find what you’re looking for with the Search feature. First, select “Search.” Type what you’re looking for in the search bar. This can be a store name or a specific item. If you search for a store, Flipp will show you all the ads available for that store. If you search for an item, Flipp will show you all the deals available at different stores, letting you quickly compare prices and find the best deal for you.
To save valuable time planning and shopping, apply filters to get more specific search results. Want to find deals only from your favorite stores? Tap the ‘Filter’ button, and select ‘Favorite Stores Only’ and voila! Only deals from stores you care about. You can also filter by In-store or Online deals.
Step 5: Track deals for the items you want
Just because you don’t see a deal now, doesn’t mean that the right deal won’t come around later. Flipp is all about making the planning process easier, and that’s where Watch List comes in. With Watch List, you can create a list of items you want to track over time. Flipp will find you deals for those items, and even alert you when new deals arrive. This hands-off approach is what we love the most about Flipp.
To access Watch List, tap the “Lists” tab and then make sure “Watch List” is selected at the top. Tap “Edit List” to add or remove items from your Watch List. If you’d like to get notified when new deals arrive for a specific item, tap the bell icon next to the item name.
Step 6: Shop at your favorite stores with your plan in hand
Now that you’ve browsed through the weekly ads, clipped a few deals, and searched for the items you want to save on, you can decide the best stores to shop at. With your plan in hand, you’re ready to shop and save with no time to waste. For the maximum savings, we recommend visiting several stores, as one store might not always have everything you need on sale.
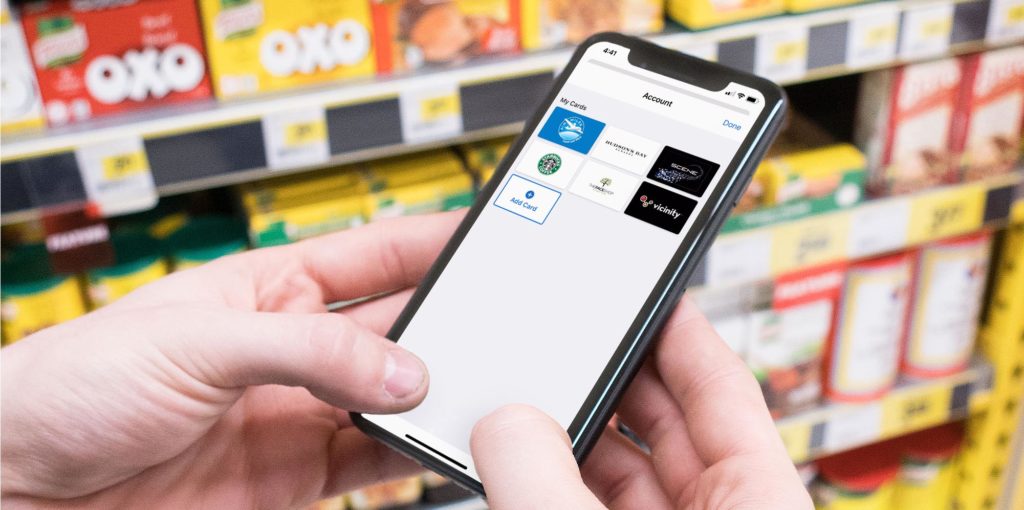
Step 7: Scan your store loyalty cards for additional savings
Have you ever forgotten a loyalty card at home? With Flipp, you don’t have to worry because you can add your loyalty cards to the Flipp app, so you don’t miss out on your points and rewards. Here’s how. Go to “Settings” and select “My cards”. After you’ve added your cards, the next time you go shopping, quickly access them through Flipp to rack up those rewards points at checkout.
Step 8: Repeat steps 3–7 to save every single week
Keep coming back to the Flipp app every week for new deals on essentials. The more you plan and stay consistent with your shopping routine, the more you’ll save. It’s that simple!
For any questions or assistance on using Flipp, visit our Help Center. Find answers to commonly asked questions, contact our support team, and even submit feedback to help us improve Flipp.

