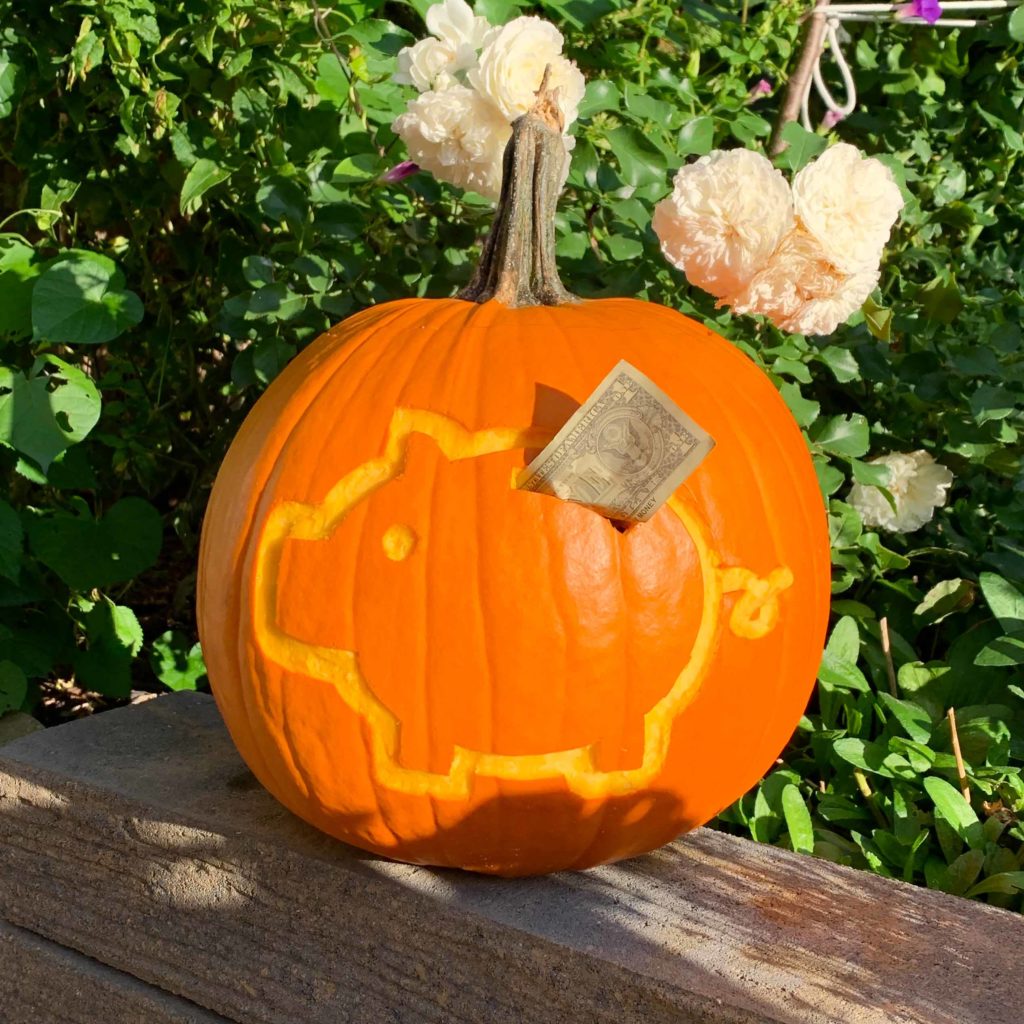
There are few activities as traditional and timeless as heading to the pumpkin patch to find that perfect pumpkin to carve some Halloween designs with the family. If your kids want to join in on the pumpkin carving excitement, don’t fret. Follow this kid-friendly guide on how to safely carve a pumpkin, and you can happily welcome those tiny helping hands to the table. You will learn how to select the right pumpkin, the safest way to carve it, and how to roast those delicious pumpkin seeds afterward for a tasty snack!
Whether it’s a spooky, simple, or scary design, it’s time to spruce up your porch and make your neighbors jealous with your own pumpkin creations. First things first, head to the grocery store or the pumpkin patch and grab your perfect pumpkin!
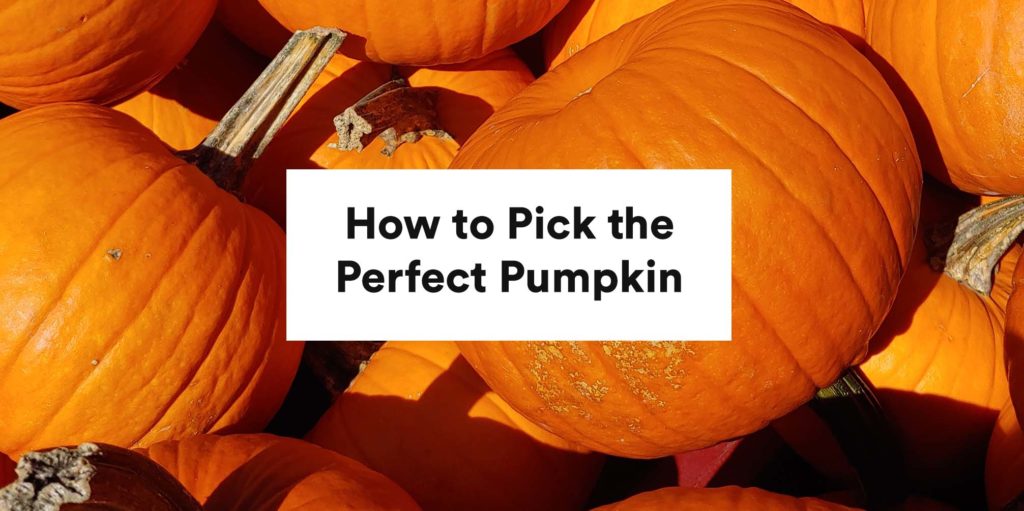
How to pick the perfect pumpkin:
- Look for a pumpkin that has a deep orange color.
- Knock on the pumpkin to check if it is hollow (and therefore, ripe).
- Make sure the stem of your pumpkin is firm and secure.
Pro tip: Never pick a pumpkin up by its stem. This will lead to faster decaying. - Avoid pumpkins with any bruises on them.
- Look for a large pumpkin with a flat bottom for easier carving.
How to carve your pumpkin so it lasts all season:
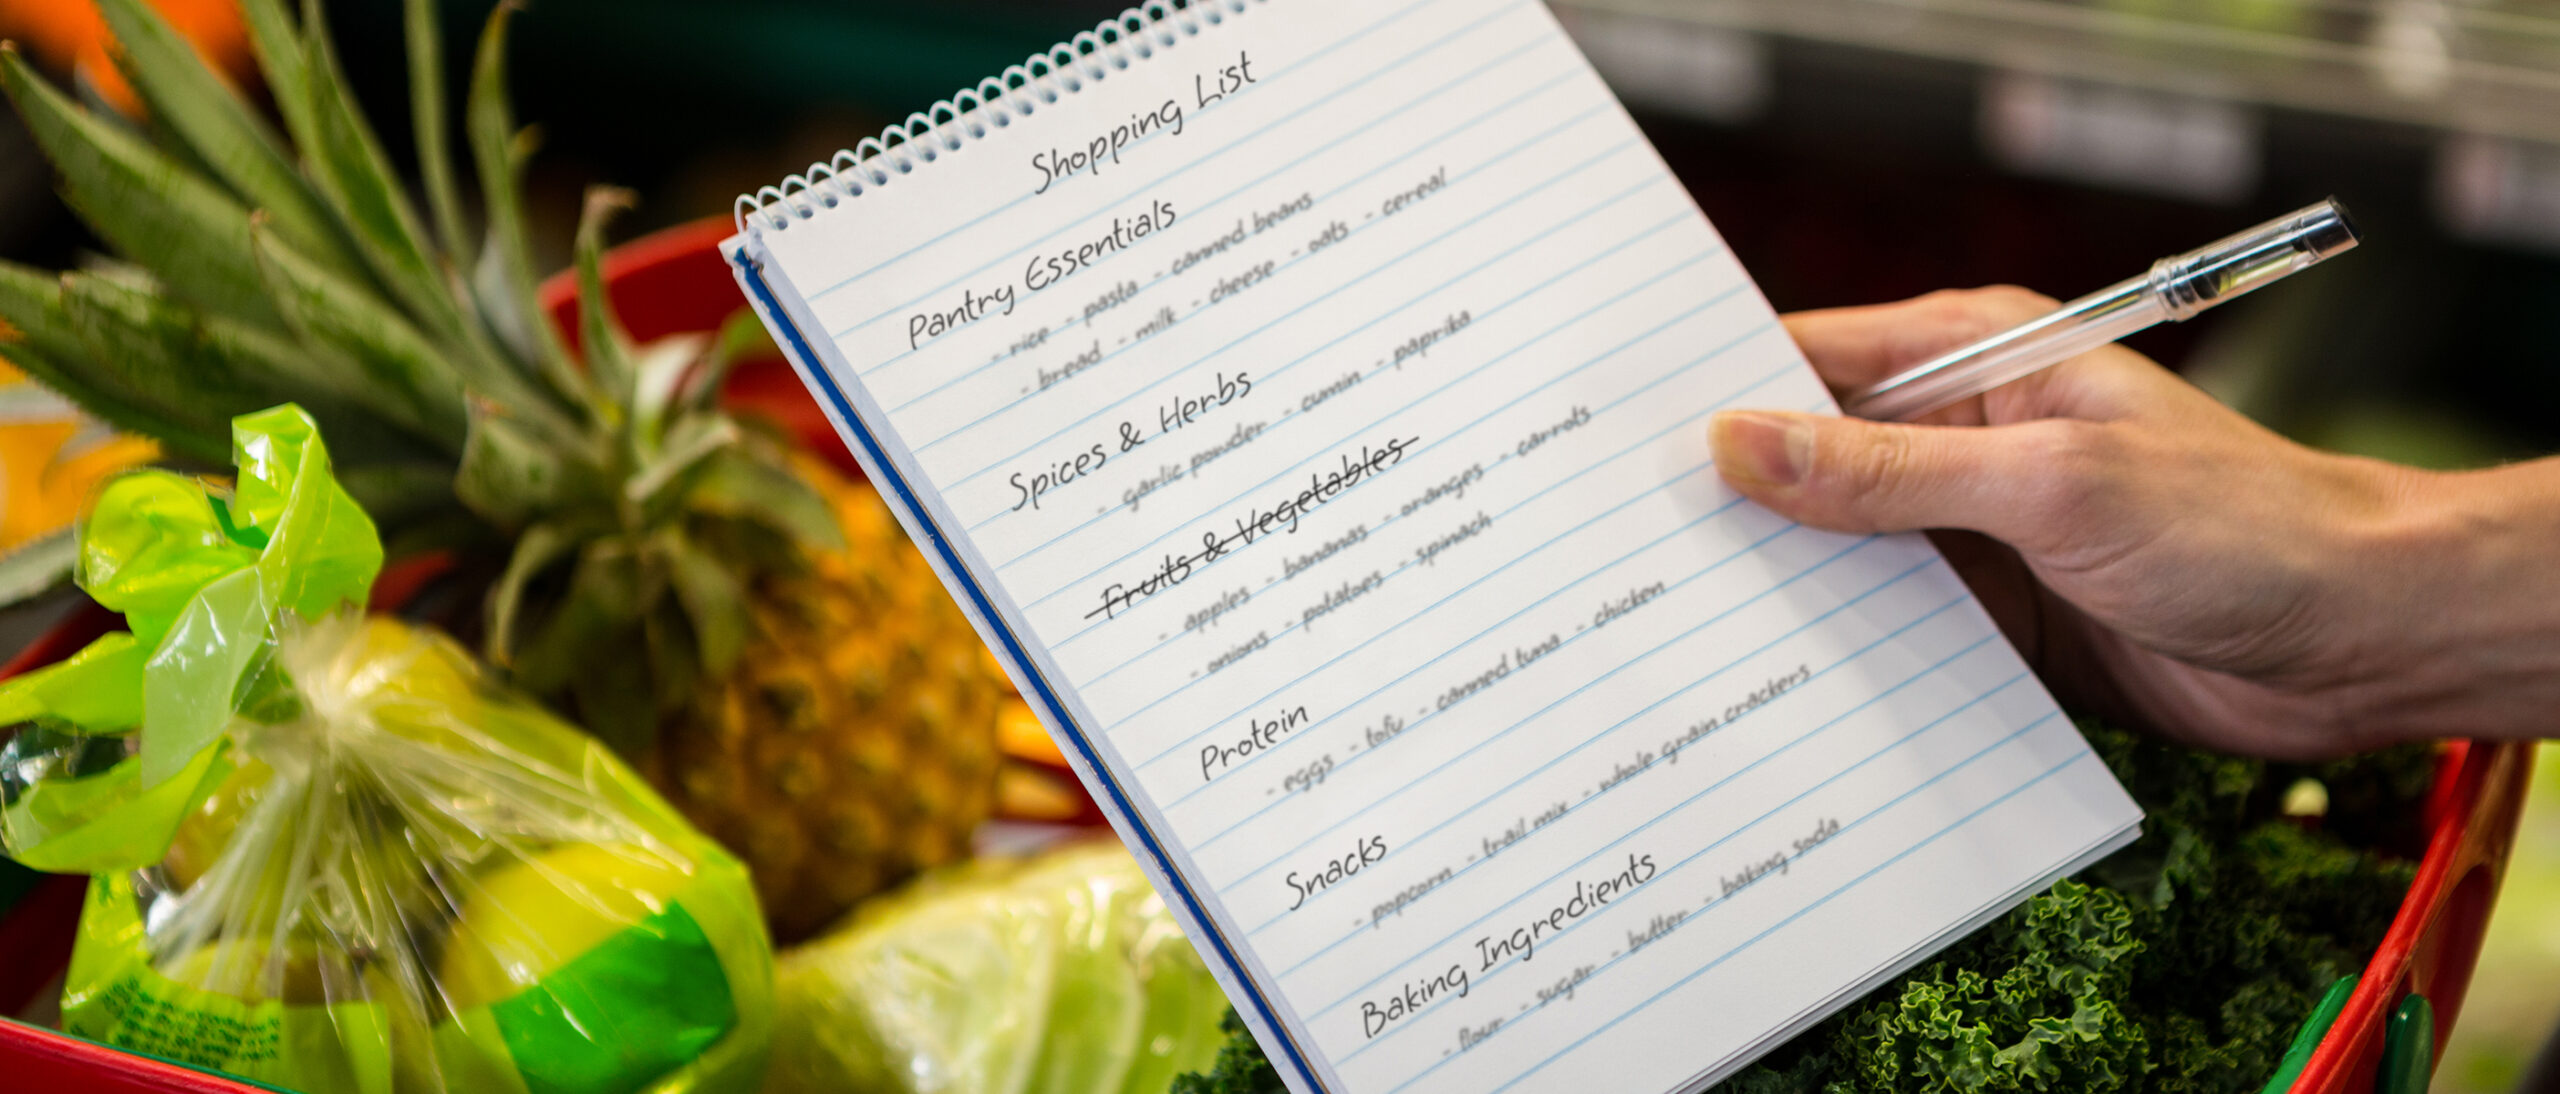
Now that you’ve brought your pumpkin home, safe and sound (we hope), it’s time to start setting up your carving station. Make sure you have all the supplies you need for this messy afternoon and search for great deals on all of your pumpkin carving needs on the Flipp app!
You will need:
- Pumpkin carving kit OR
- Boning knife
- Rubber gloves (optional)
- Pumpkin carving “claw” (optional)
- Ice cream scooper (optional)
- Something to keep your pumpkin carving station clean (table cloth, newspaper, etc.)
- Paper to sketch out your design
- Pen or marker
- Fork
- Melon baller or small spoon
- Tape
- Serrated or utility knife
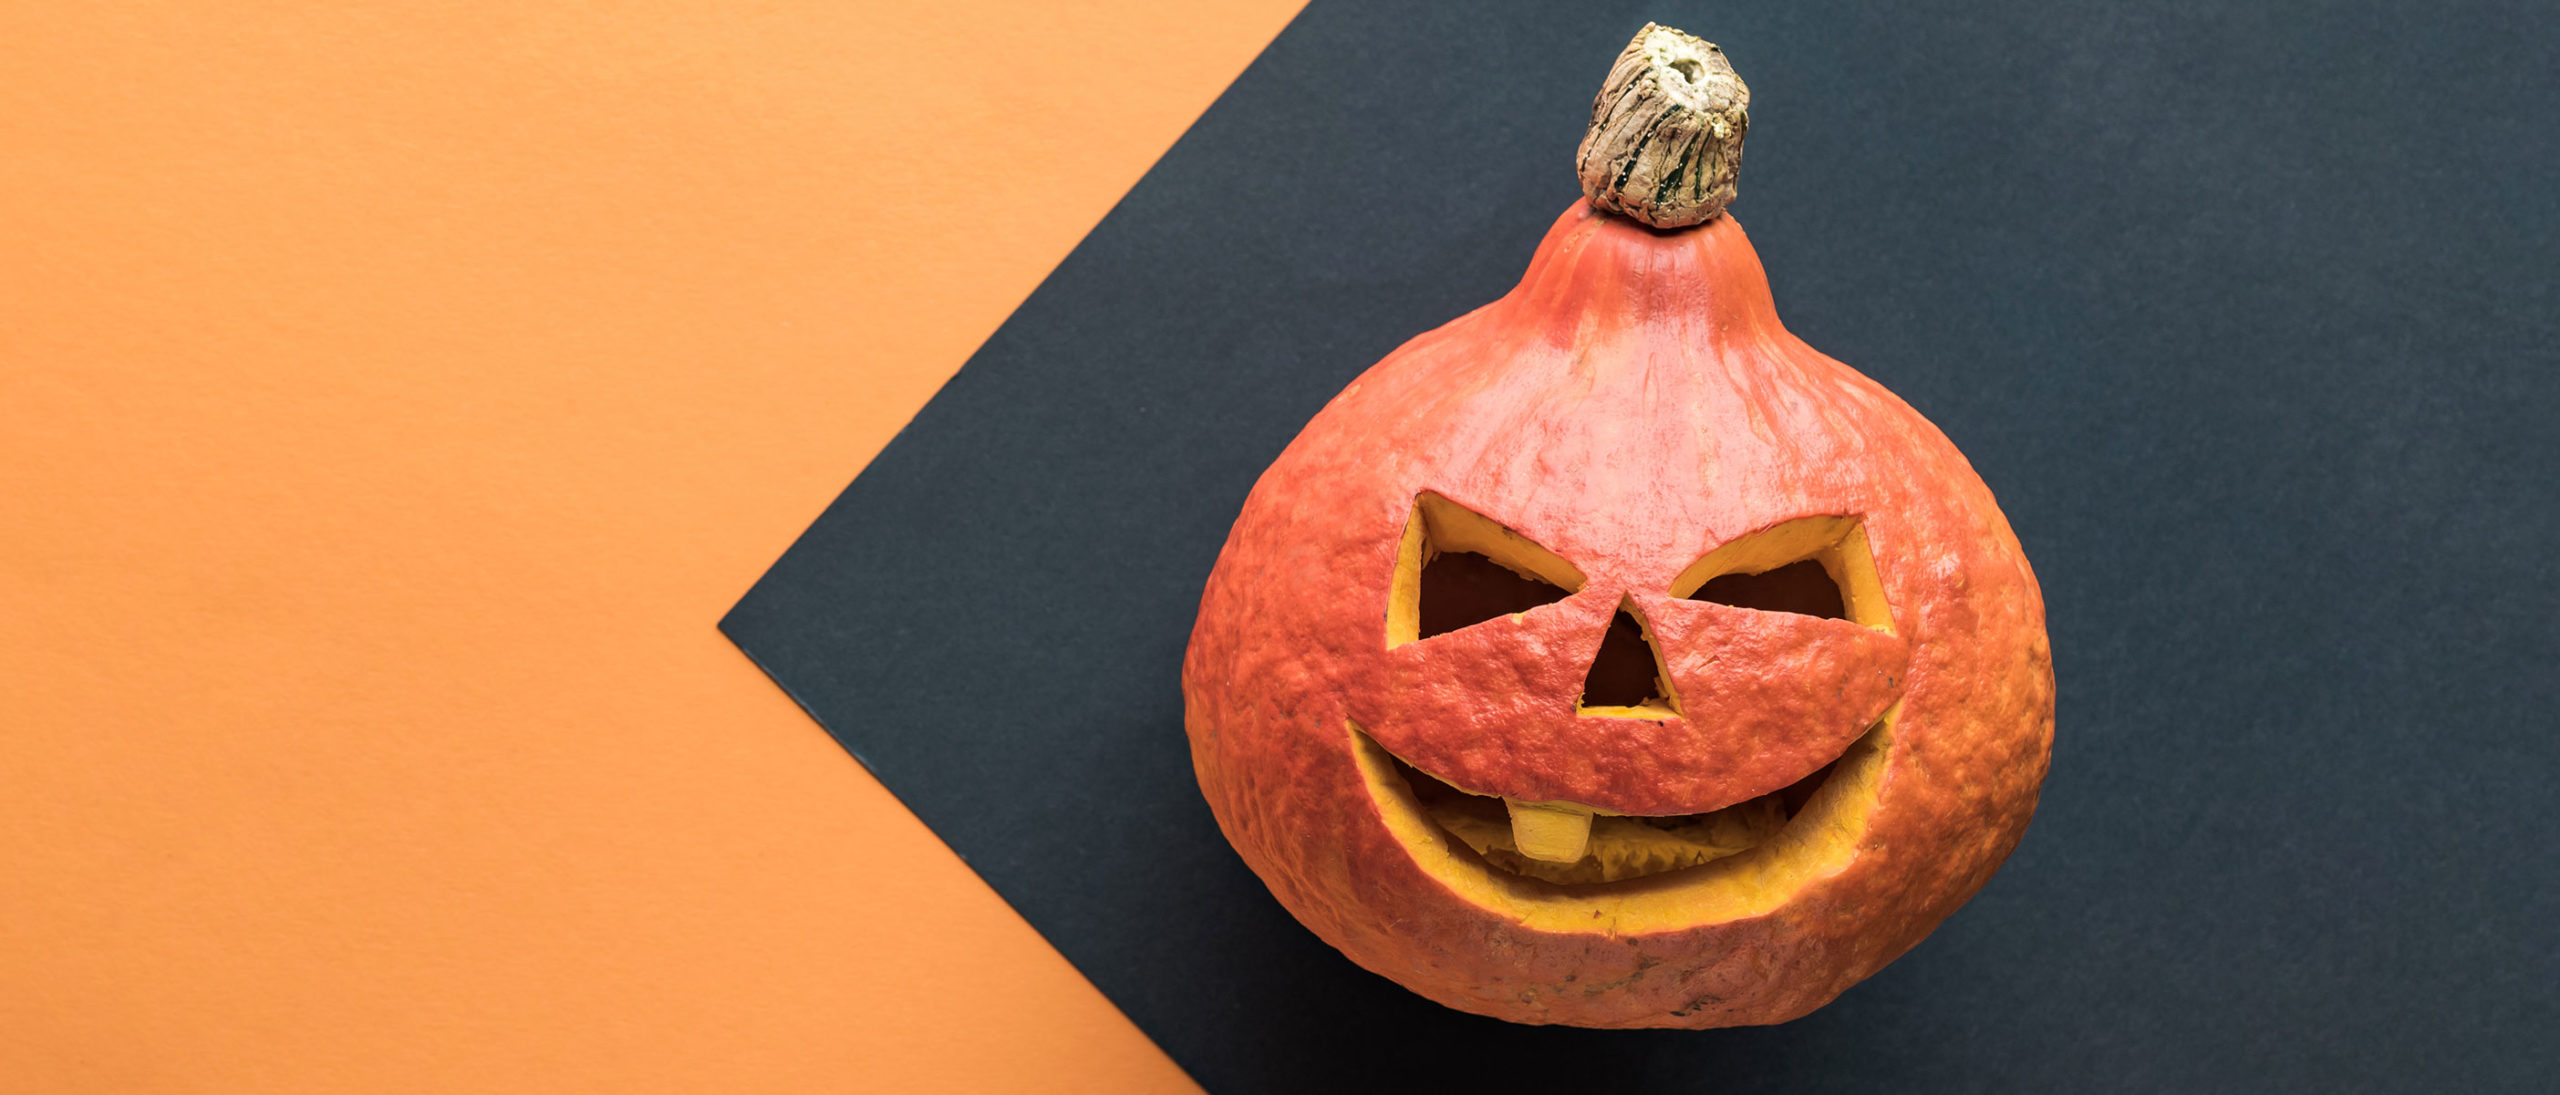
Now it’s time for the fun part: dissecting and carving your pumpkin to create your Halloween masterpiece.
Carving your Pumpkin:
Step 1: Cut from the bottom of the pumpkin, not the top.
This step should be completed by an adult. If you cut your lid from the bottom of the pumpkin, rather than the top, it will prevent the sides from caving in too soon. If you do choose to cut from the top, cut the lid at an angle. That way, the lid won’t fall inside the pumpkin when you put it back on top. Use a boning knife for this step.
Flipp Tip: For a helpful visual aid on how to carve, you can watch this video by Good Housekeeping.
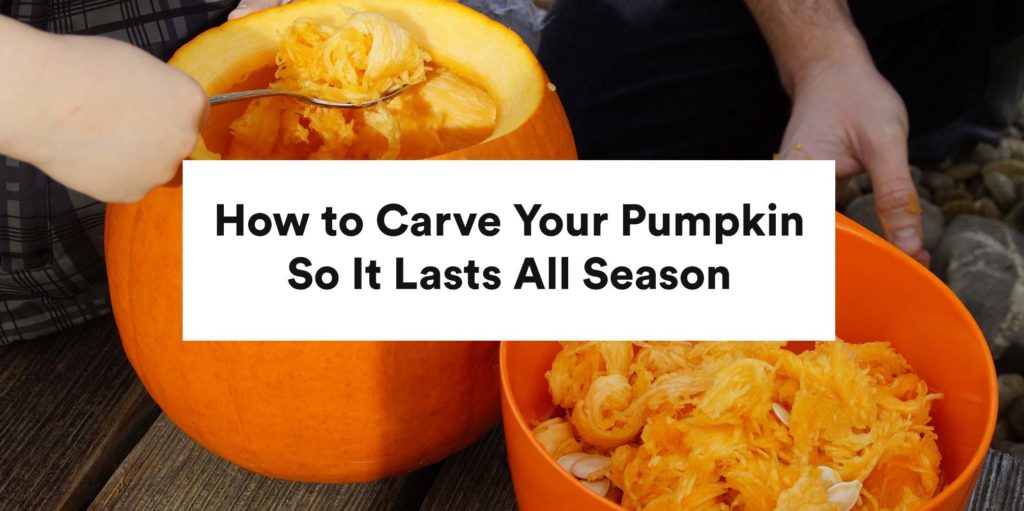
Step 2: Scoop out all the pulp.
Kids will shriek in disgusted delight at this step! Allow your kids to reach in and pull out the ‘pumpkin guts’ with their hands. This will get messy, so make sure to have paper towels and those table coverings on hand. If your kids don’t love the feeling of gooey pumpkin between their fingers, you can purchase a special claw for pumpkin gutting or use an ice cream scooper. Be sure to set the insides aside in a bowl for later.
Flipp Tip: Thin out the inner wall where the “face” of your pumpkin will go to about 1 ¼ inch thick. This will make it easier to pierce the shell once you start carving. Your kids can complete this step with a spoon.
Step 3: Plan out your design.
You’ll want to prepare your masterpiece before you start carving to avoid making mistakes. The best way to do this is to draw your pumpkin design to scale on a piece of paper and have the kids take turns drawing the features they want the pumpkin to have. From there, tape the drawing to the pumpkin and then use a fork or a pencil to poke holes through the lines of your design. This will make carving out the design SO much easier.
Flipp Tip: In need of some inspiration? Check out some of these free printable stencils from Pumpkin Pile.
Step 4: Start carving.
This step should be completed by an adult. For this step, we recommend using a serrated knife or x-acto knife. Clean, vertical slices work best. Try to cut out the bigger pieces first. You can go back and clean up the edges once you get the overall design out of the way.
If your kids want to carve the pumpkin themselves, score the outline of the features before they get started. They can then use a melon baller or a small spoon to carve off the top layer of hard pumpkin to reveal the bright face underneath.
Step 5: Keep your pumpkin fresh.
Add Petroleum jelly on the cut edges of your pumpkin to seal in the moisture. If you find that your pumpkin is still shriveling a couple of days later, soak it face down in cold water for up to eight hours to bring it back to life.
Step 6: Make a chimney in your pumpkin to release the smoke.
If you are using a battery-operated candle, you can skip this step.
You’ve carved your pumpkin, but now you need to make your creation glow safely. If you followed our instructions and cut the opening of your pumpkin from the bottom, then you will need to make a small incision at the top of your pumpkin or a “chimney” to let the smoke out.
And voila! Your pumpkin is ready to be showcased on your front porch. Make sure to have a family vote for the best pumpkin.
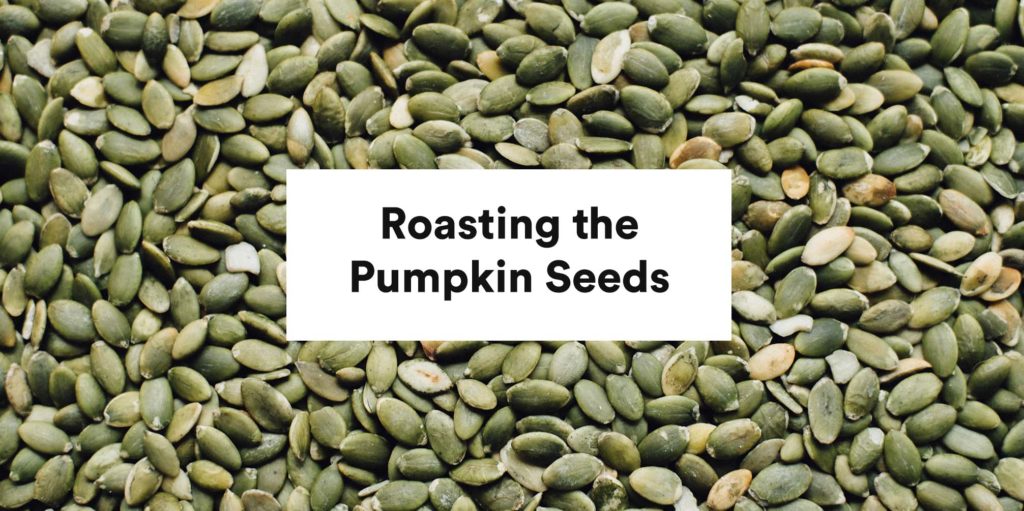
Roasting the pumpkin seeds:
Now, what to do with all the ‘pumpkin guts’ you set aside? Roast them and eat them of course! Your kids will love this sweet or savory snack for days to come.
You will need:
- Baking tray
- Olive oil or avocado oil
- Salt or desired pumpkin seasoning (see below for inspiration!)
Instructions:
- Separate the pumpkin seeds from the pulp that you scooped from your pumpkin.
- Give the pumpkin seeds a good rinse with water. We recommend soaking the seeds overnight in room temperature water with a dash of salt, but only if you have the patience for it.
- Preheat your oven to 375 degrees Fahrenheit.
- Dry the seeds with a towel and place them in a bowl. Toss with oil to coat them, then sprinkle with your seasoning of choice!
You can choose from salt, brown sugar, cinnamon and so much more! A little bit of sugar and cocoa powder makes a chocolatey mix, while some cinnamon and nutmeg will give you cozy fall vibes. - Spread them on a baking sheet and bake the seeds for 10 minutes.
- Take the seeds out and spread/stir them around, then pop them back in for another five minutes until they have lightly browned.
- ENJOY!
From our Flipp family to yours, we wish you a spooky, but safe, Halloween!
Follow us on Instagram or Facebook to stay up to date on all our latest tips and tricks to save you money all season.