You’ve probably heard of, or seen this cake somewhere on Instagram. Not only is it beautiful to look at, but it is absolutely delicious. Behold, the Milk Bar Birthday Cake. Milk Bar is an innovative sweet shop that turns familiar treats upside down and on their heads and can only be found in a few cities across North America. Now if you’re lucky enough to live close to a Milk Bar, we might not be able to be friends, but for those who aren’t, Milk Bar is sharing their recipe and one of our Flippers (and top cake bosses), Jennifer Hoang, is taking a stab at this legendary recipe.
On behalf of those who don’t live close to this heavenly sweet shop, we would like to thank Milk Bar for sharing their famous recipe with all of us. Of course it will never quite be the same, allowing us to recreate this tasty classic at home will help us curb our birthday cake cravings. Without further ado, here is Jenn’s documented baking journey.
Warning: this recipe is not for the faint of heart. You must be willing to dedicate a good chunk of your day to prepare this – let’s say 7-8 hours, yup, that’s what we said.
Before you begin, don’t forget to search for the best deals on ingredients using the Flipp app.
Here’s what you’ll need:
- 55g butter at room temperature (4 tablespoons – 1/2 stick)
- 60g vegetable shortening (1/3 cup)
- 250g granulated sugar (1 1/4 cups)
- 50g light brown sugar (3 tablespoons tightly packed)
- 3 eggs
- 110g buttermilk (1/2 cup)
- 65g grapeseed oil (1/3 cup)
- 8g clear vanilla extract (2 teaspoons)
- 245g cake flour (2 cups)
- 6g baking powder (1 1/2 teaspoons)
- 3g kosher salt (3/4 teaspoon)
- 50g rainbow sprinkles (1/4 cup)
- Plus 25g rainbow sprinkles (2 tablespoons)
- 1 quarter sheet pan for baking
You can find the step-by-step recipe on the Milk Bar website here.
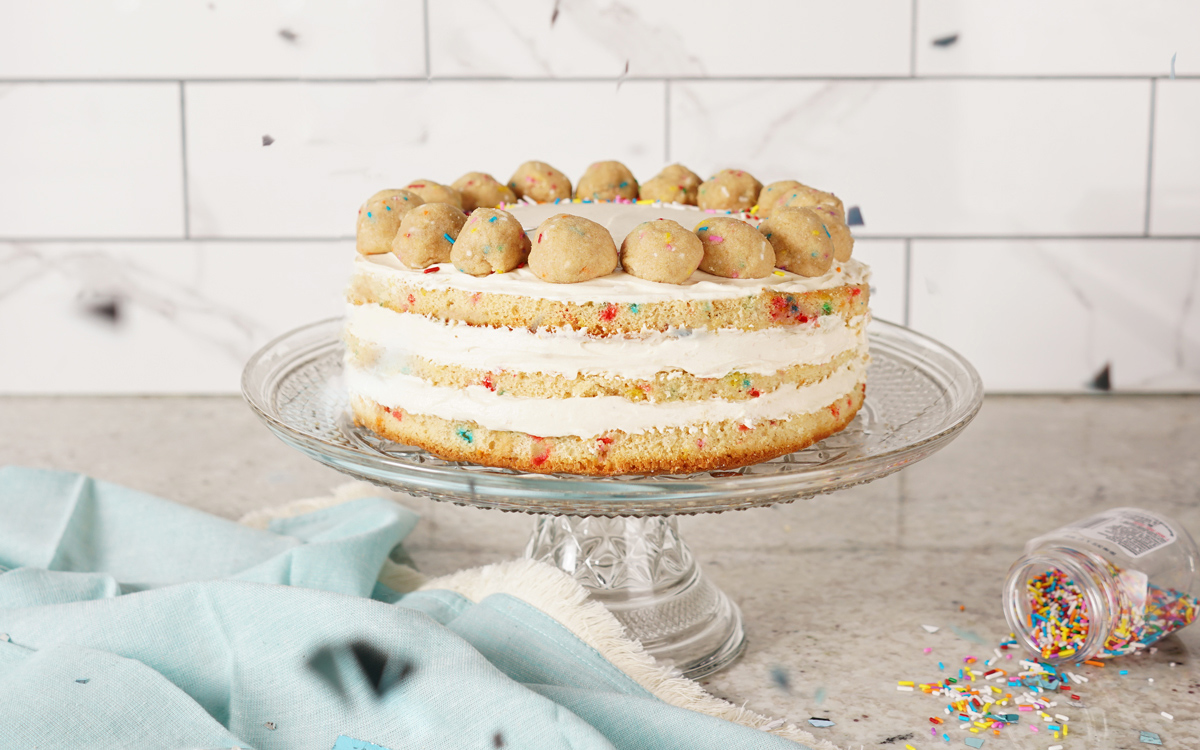
This cake is six layers tall and is made in five phases:
1. Birthday Cake
2. Birthday Cake soak
3. Birthday Cake frosting
4. Birthday Cake crumble
5. Cake assembly
Here are some photos that Jenn shared with us of each step of the process (minus the emergency Bulk Barn trip she had to make mid-recipe after her first cake turned out to be undercooked).
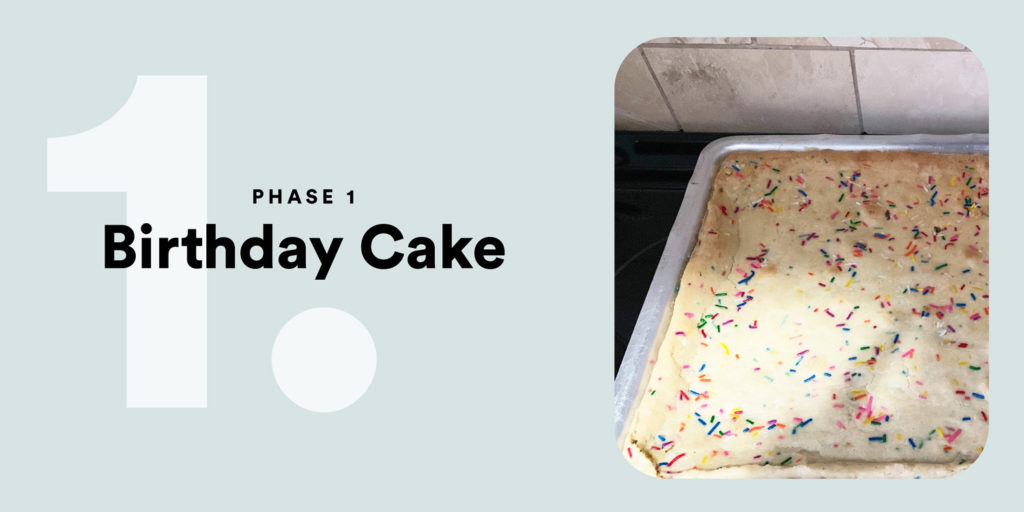
PHASE 1 – Birthday Cake
The first thing you have to do is bake the cake. For the best results, follow the instructions to atee, as this is not any regular cake. There’s a reason for every step and that’s to ensure the cake comes out moist and fluffy.
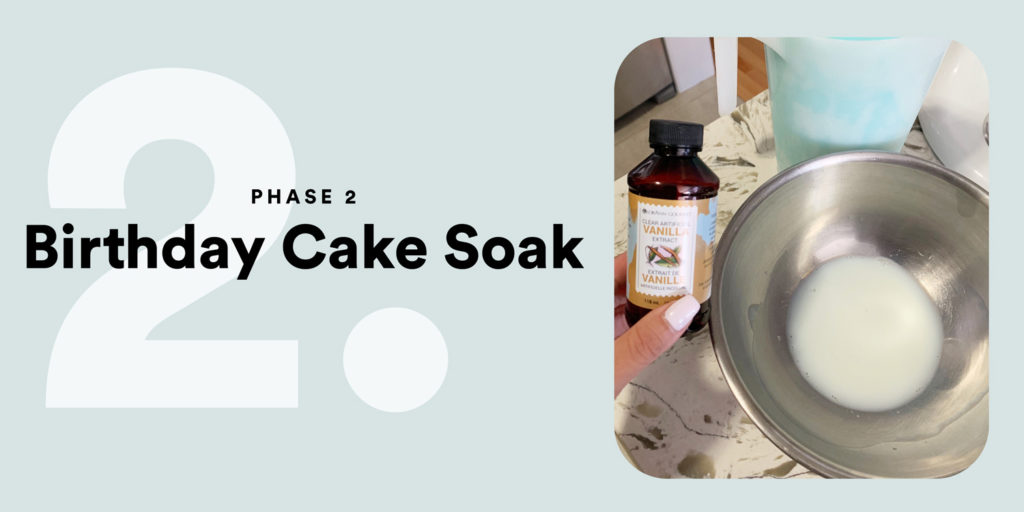
PHASE 2 – Birthday Cake Soak
Next, whisk together milk and vanilla to make the cake soak. You will use this soak later as part of the assembly process. Read the tips on the original recipe to make sure you achieve the right consistency.

PHASE 3 – Cake Frosting
Follow the directions to create the cream cheese frosting. If done right, this will look like a creamy, store-bought frosting (but of course taste A LOT better).
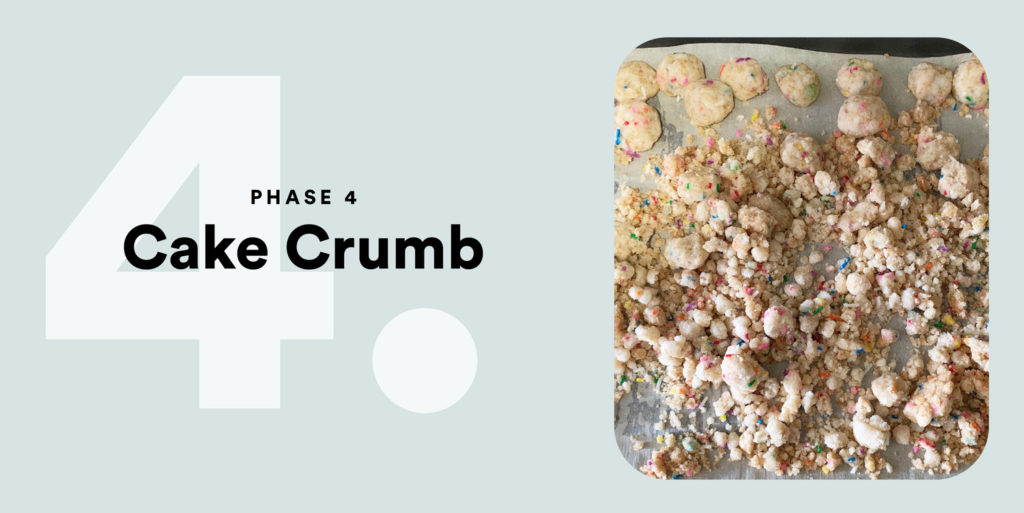
PHASE 4 – Cake Crumb
Who would’ve thought that purposely making cake crumbs would be so fun? There’s more to it than meets the eye. We weren’t lying when we said this recipe is for experienced bakers, but Jenn enjoyed the challenge!
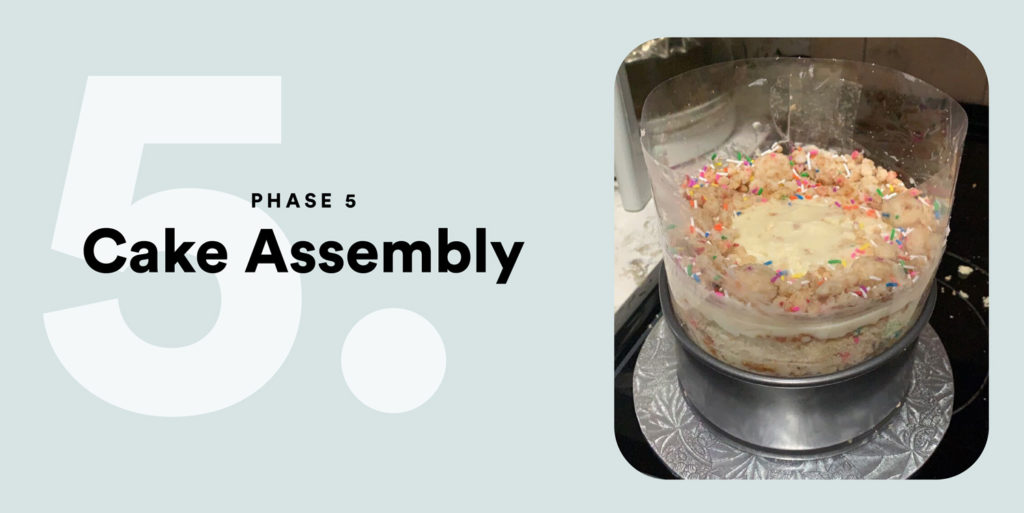
PHASE 5 – Finally, the Cake Assembly
Ok, so here comes the fun (and tricky) part! This is where all the pieces come together to create your Birthday Cake masterpiece. The cake ring is key to ensure that your layered cake molds to the desired shape without falling apart. Follow the step-by-step instructions on the Milk Bar website.
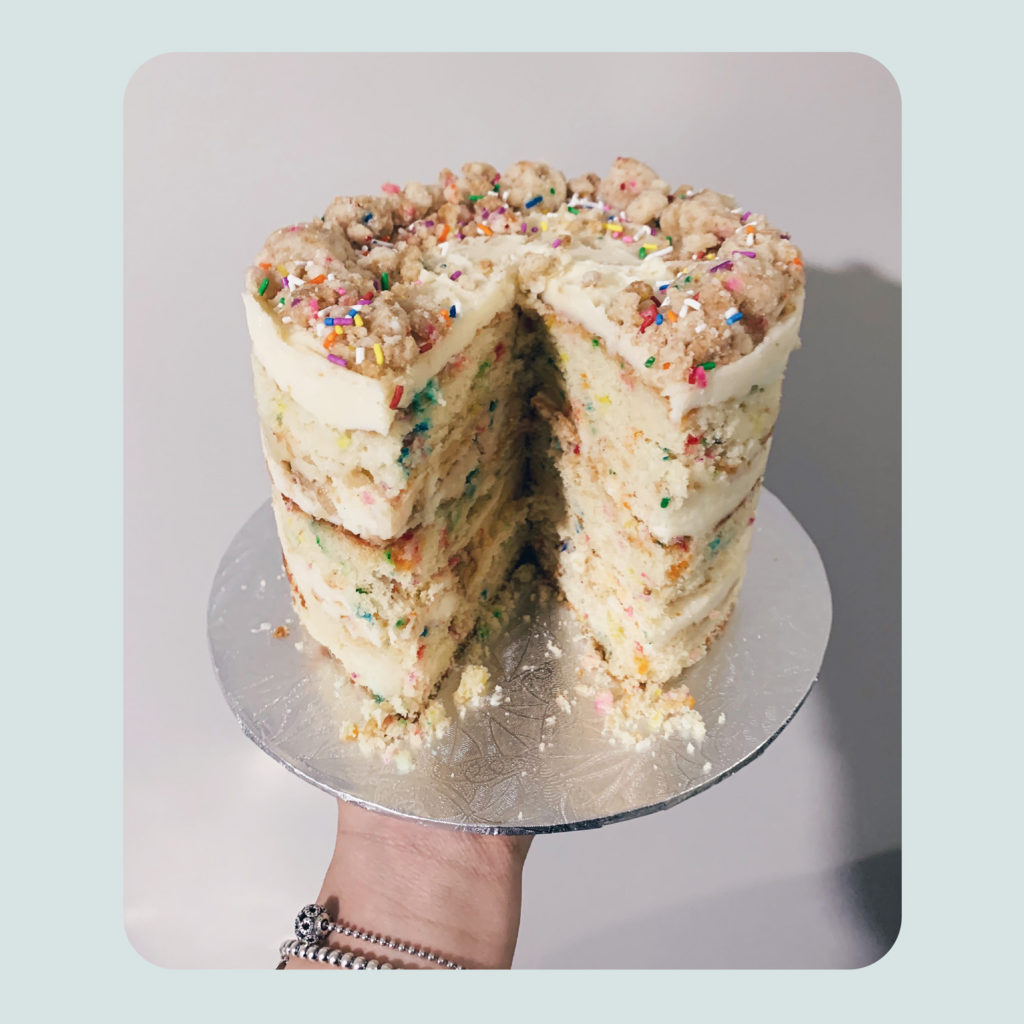
Although it can be a lot of work, if you’re willing to experiment this cake is sure to wow any of your guests. If you decide to bake this cake, tag us in your photos on Facebook and Instagram! We would love to see how it turns out.
For more of the Flipp team’s baking adventures, be sure to check out The Flipp Blog as well as our social media pages.
Happy Baking!