Now that fall is in full swing, it’s time to spruce up that home decor with some traditional warm tones. Grab some mini pumpkins and a warm drink because you’re going to want to make every last one of these DIYs! Here are five quick, easy, and cheap ways to decorate your home for fall on a budget.
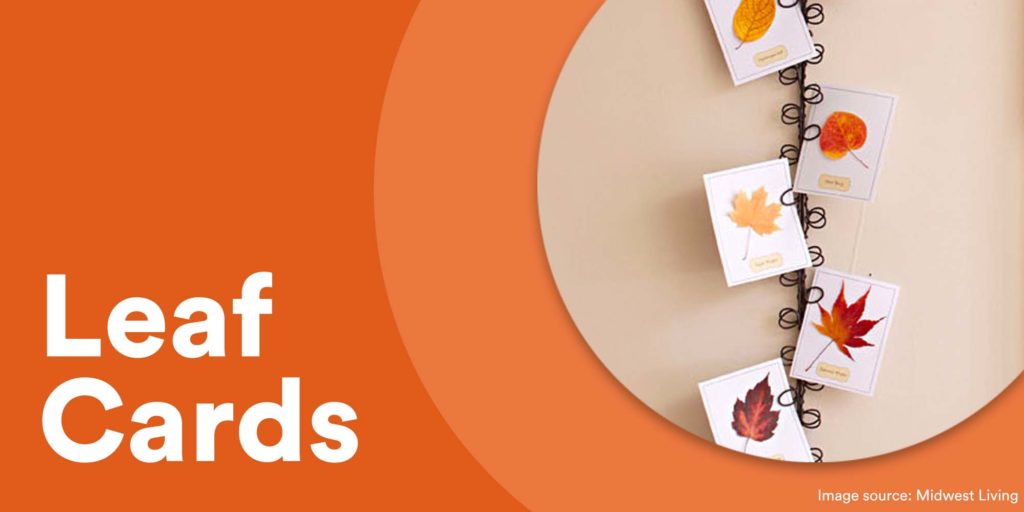
1. Leaf Cards
This DIY is dedicated to all the minimalists out there. If you like to take nature walks with your family, make sure to collect some dry leaves while you’re out so you can make these beautiful leaf cards!
You can print these cards out on normal paper or go a little fancier with some card stock. Using mod-podge or school glue, glue the leaves down to the cards and then just put the cards up in whatever pattern you’d like. They can even be framed!
Source: Midwest Living
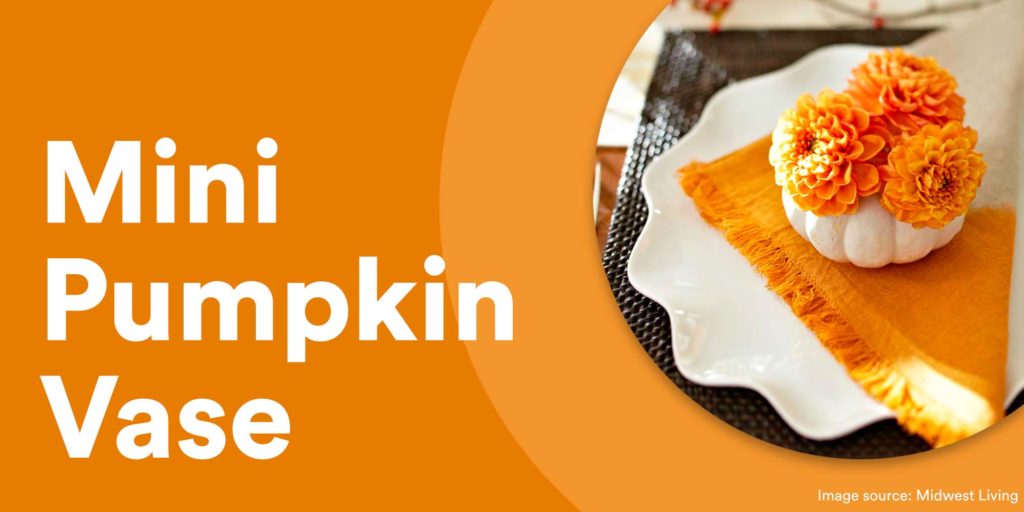
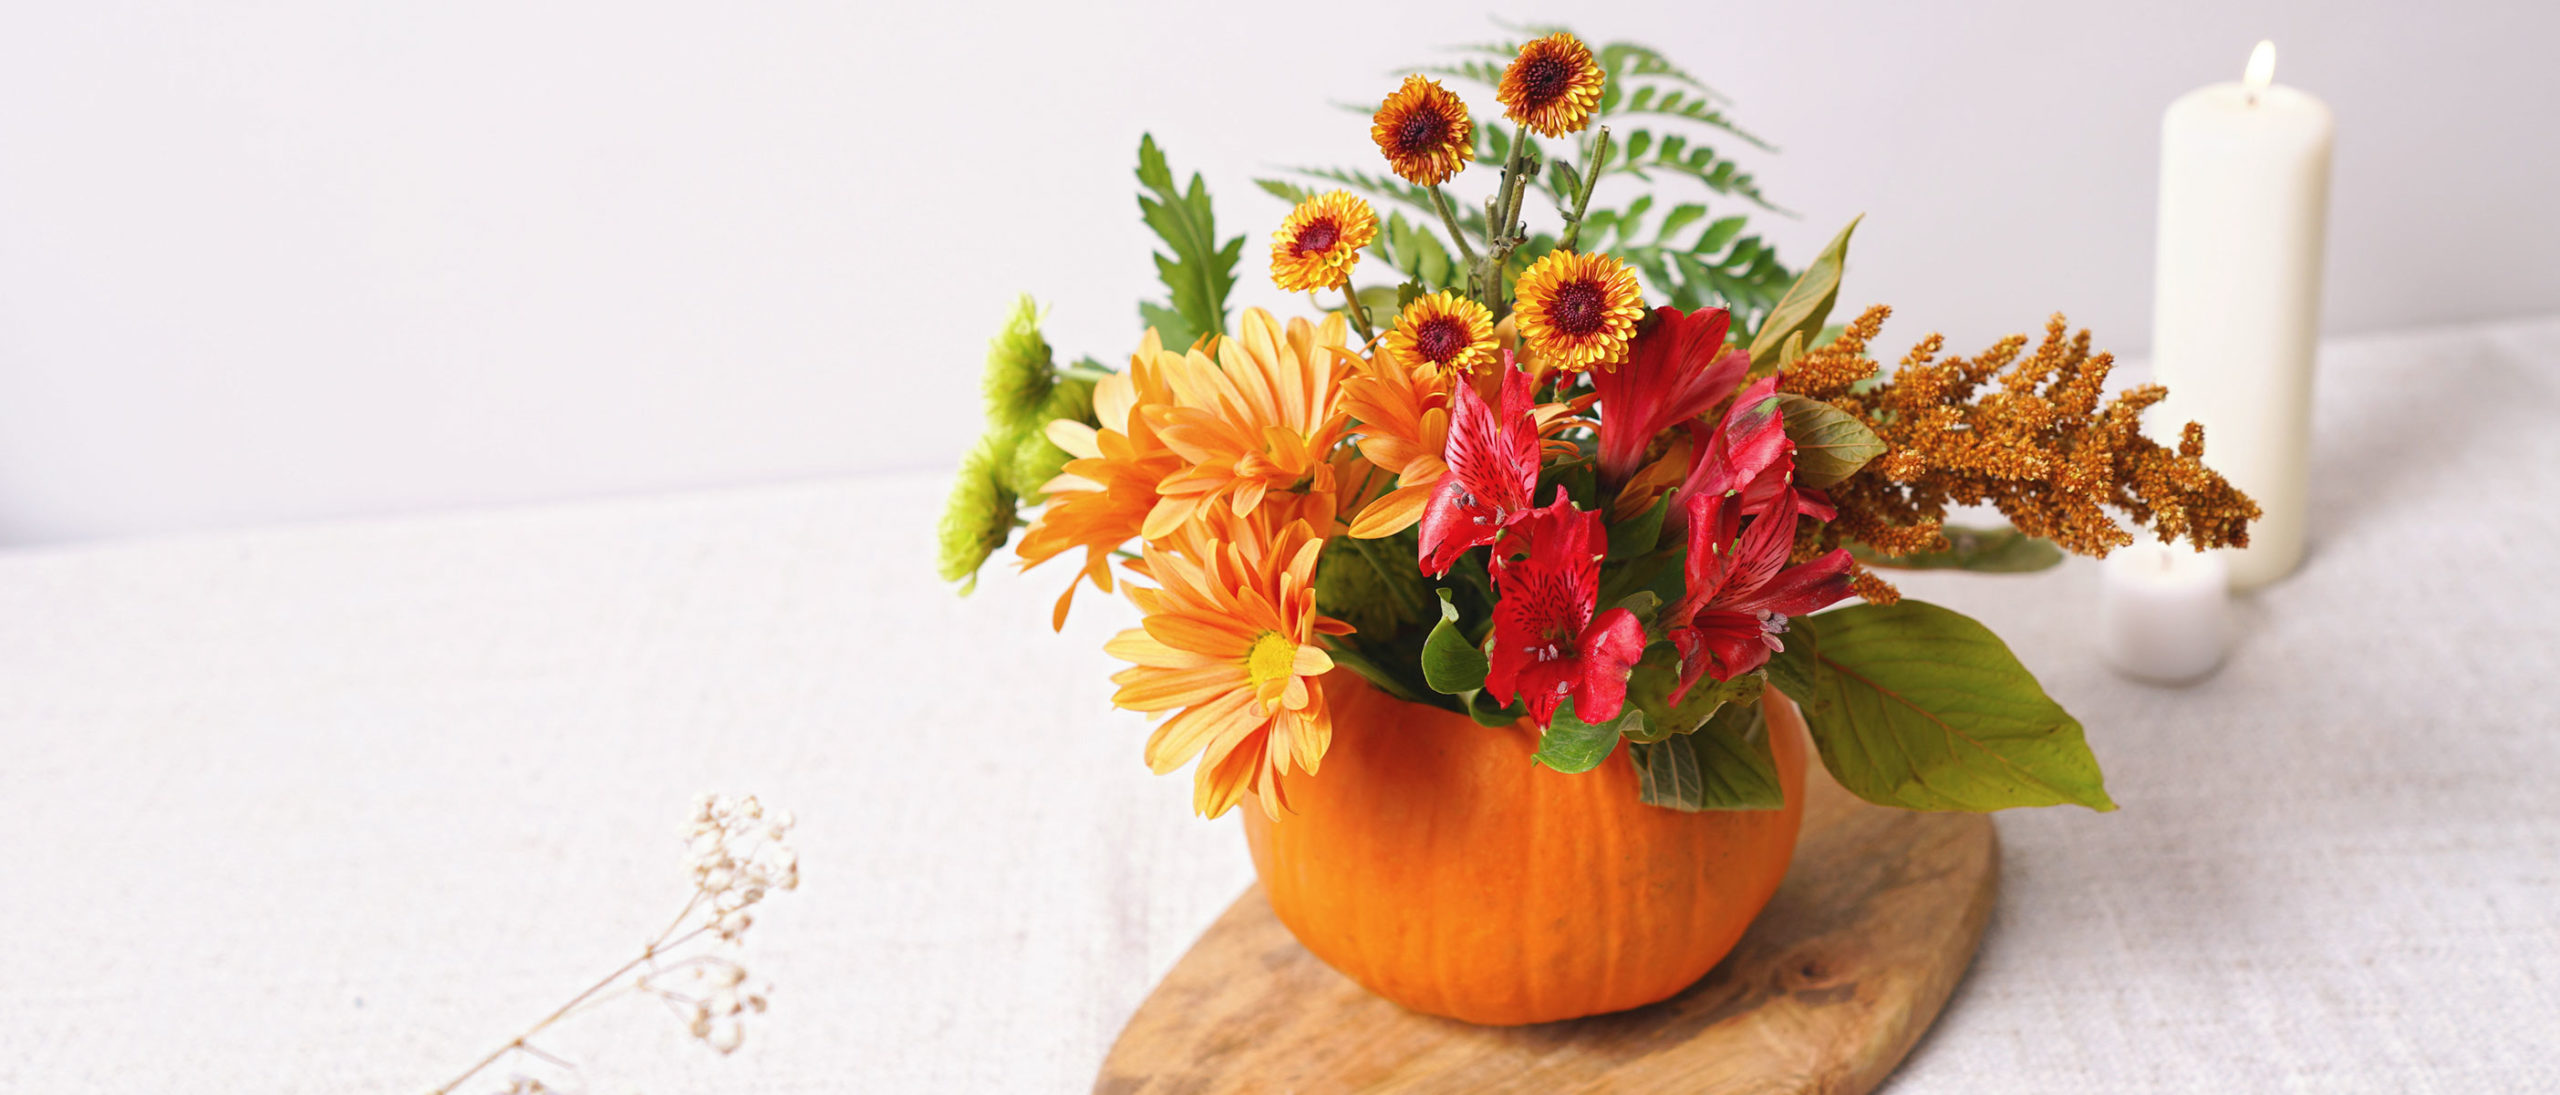
2. Mini Pumpkin Vase
Large pumpkins always get all the spotlight when fall comes around, so let’s give some love to the mini gourds! You can either pick mini pumpkins in whatever colors you’d like or spray paint them a different color. Cut the tops off and scoop the insides out (we’ve got a guide on what to do with the seeds).
Pick out your favorite fall-colored flowers and cut the stems so that they’re just long enough to have the flower heads poking out of the top of the pumpkin. Arrange the flowers to your liking and voila! You can use this as a beautiful table setting or just to add a splash of color around the house.
Source: Midwest Living
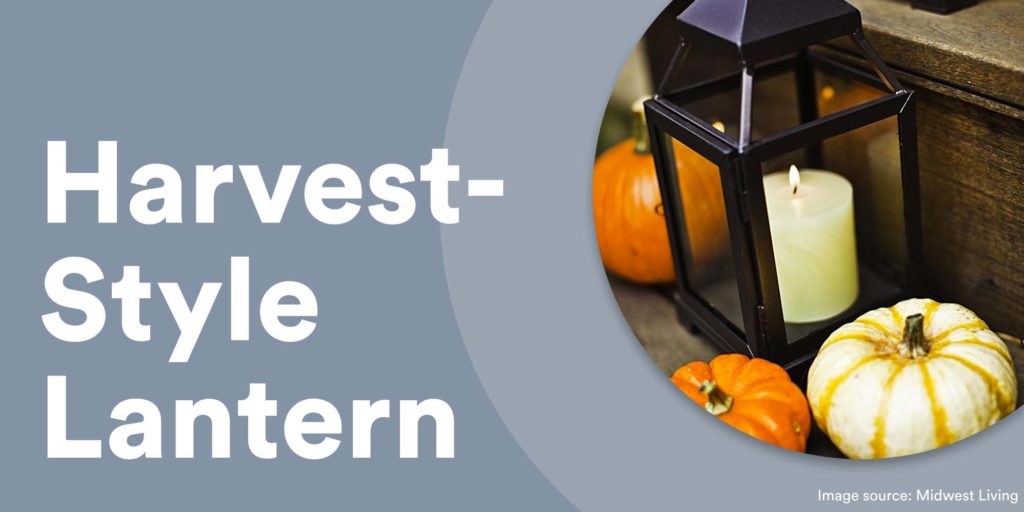
3. Harvest-Style Lantern
Continuing with the mini pumpkin theme is this lovely outdoor display. This porch decoration is simple to put together if you have these items already. If you don’t, not to worry! You can find affordable outdoor lanterns second-hand at your local thrift shop or online marketplace. This DIY is as easy as just assembling a candle, lantern, and some mini pumpkins in a fashion that you’d like. You can add a larger pumpkin as an accent as well.
Source: Midwest Living

4. Faux-Leather Coasters
If you’re a fan of dark neutrals around fall, you’ll love these coasters! You can also get your kids to help out with this one if they’re old enough to handle scissors on their own. All you need for this project is some faux leather, a hot glue gun or heavy-duty glue, and some foam board.
Cut the foam board into equal 4” x 4” squares, and cut your faux leather into 6” x 6” squares. Place the foam board in the center of the wrong side of your faux leather, and glue it down. Fold the edges of the faux leather around the foam board, cutting the corners as needed. Glue the edges of the faux leather down around the foam board so it is completely wrapped and you’re done! Enjoy your fall drinks on your fancy new coasters.
Source: Lone Fox on YouTube

5. Fall-Themed Pillowcase
This one is a great afternoon project for yourself that kids will love! Beware though, because it can get messy. Make sure to cover tables and anything nearby that might get paint on it before you get started!
All you need for this DIY is a couple of pillowcases, some fabric paint, a brush or two, and cardboard. Put the cardboard inside the pillowcase to ensure the fabric paint doesn’t bleed to the other side. That’s the only rule! Now you and your kids can design whatever you’d like on these pillowcases. Our favorites are pumpkins and pun-ny fall sayings like “Bautumns up!” The sky’s the limit with this project, but make sure to follow the instructions on your paint to set it before you use the pillowcases.
Source: The Merrythought